Posted on 2/26/2021 in Digital Marketing
Newsletters are a low cost marketing tool that offer multiple benefits for any business. By targeting your previous or potential clients with the right content and a strong offer, they can increase conversions. A well-crafted newsletter showcases your business’ expertise, and drives traffic to your website. Newsletters also provide your business with exposure and help with brand awareness. Beyond that, they can even be utilized to communicate with employees. In this article, we’ll discuss how to create an effective newsletter, and specifically how to do so in the Kentico Xperience CMS.
Consider the content of your newsletter
First and foremost, determine what you want your newsletter to focus on. One common pitfall is to have a newsletter focus on all aspects of your business. Make the newsletter about one aspect of your business, so you avoid confusion and overwhelming the reader with too many different topics. A shared theme can tie your newsletter together, and effectively communicate with your desired audience.
While leveraging promotions and discounts is an excellent way to drive sales to your business, make sure that your newsletter is not just more spam in someone’s inbox. Make sure the majority of your newsletter’s content is informative and educational. The promotional portion, while important, cannot be the largest portion of your newsletter. And while you’re at it make those email titles catchy. A poor email subject line could result in your newsletter going directly to trash. The best subject lines are typically brief, timely, personalized, and convey value.
Kentico Xperience 13 (as well as previous versions) supports newsletter functionality. (Sites running under the Kentico Xperience Business License Edition have a maximum limit of 10 newsletters. The number of newsletters is unlimited with the Kentico Xperience Enterprise license.) Below I have provided the basic steps for creating a newsletter in Xperience 13, along with some best practice tips.
Creating your Newsletter Email Template
Before you can build out your newsletter, you first need to design and create your email template. This will require a designer and a front-end developer to translate the design layout into HTML and CSS. Your design will vary based on your brand and the content for your newsletter but we recommend the following:
- Optimize your email design for mobile. Many users check email on their phones so it’s critical to focus on the mobile design layout.
- Keep it simple. Avoid overdesigning or having too much content. Your newsletter will feel cluttered and readers won’t know where to look or click. Use images sparingly.
- Use one primary call-to-action. Similar to the rule of thumb for a web page, your newsletter should also have one main call-to-action that is given prominence so that it’s clear and easy for users to take the action that you want them to.
- Have a clear unsubscribe process. Even though you don’t want to lose users, it can hurt you if you don’t have an easy way for users to unsubscribe and can put you in violation of CAN-SPAM laws.
- Test! Before you blast out your newsletter to hundreds or thousands of people, you want to make sure that you have worked out the kinks. Test in a few different email clients as well as on both mobile and desktop. Make sure the links work, that you have a text version as well as HTML and that your images have alt text.
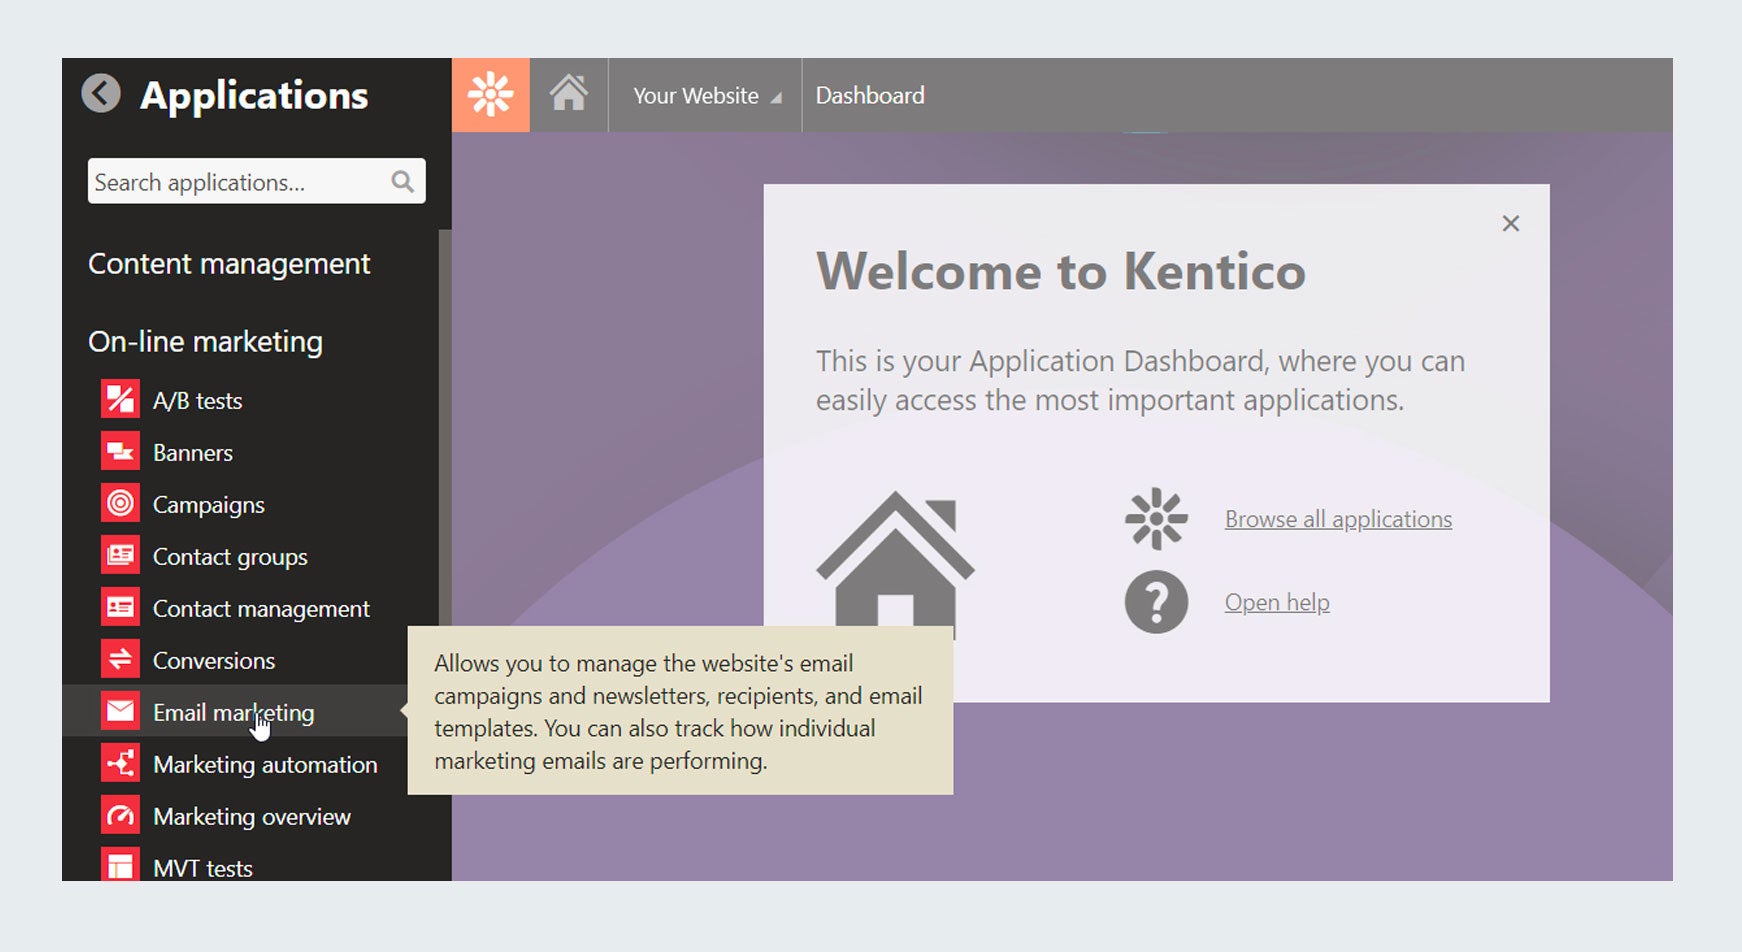
Now that you have your design and content finalized, it’s time to build the template within Xperience. Within the admin portion of your site, within the Online Marketing section, open Email Marketing.
From here you complete the following steps:
- Click New email template and give it a display name
- Select the template type – email is the standard type you would use for marketing emails
- If using inlined CSS styles, select the Inline CSS checkbox to enable inlining of the included markup. Note that if you are sending a large amount of emails, enabling this may reduce performance.
- Click save – this will create your template and open the template editor tab
- Add your HTML code based on your newsletter design in the template editor. If desired, you can also add email widget zones or marketing email macros here. This is where you will also set up your unsubscribe links.
- Click save. Now your template is ready to be used.
For newsletters, you will also need to set up subscription and unsubscription email templates that can be used for confirmation emails when users subscribe and unsubscribe to your newsletter. The set up process is similar to what we outlined above but a bit simpler. The main difference is the type of template selected in step 2. The other template types you will need are:
- Double opt-in: This isn’t required but it is recommended as a best practice for newsletters to give users an extra confirmation step for subscribing. The double opt-in email is the message sent for them to click and re-confirm the subscription.
- Subscription: Use this instead of double opt-in if you don’t want to require that extra confirmation step. This is the confirmation email that will get sent when users subscribe to your newsletter
- Unsubscription: This is for the email that is sent to confirm when a user unsubscribes from your newsletter.
Setting up your Newsletter
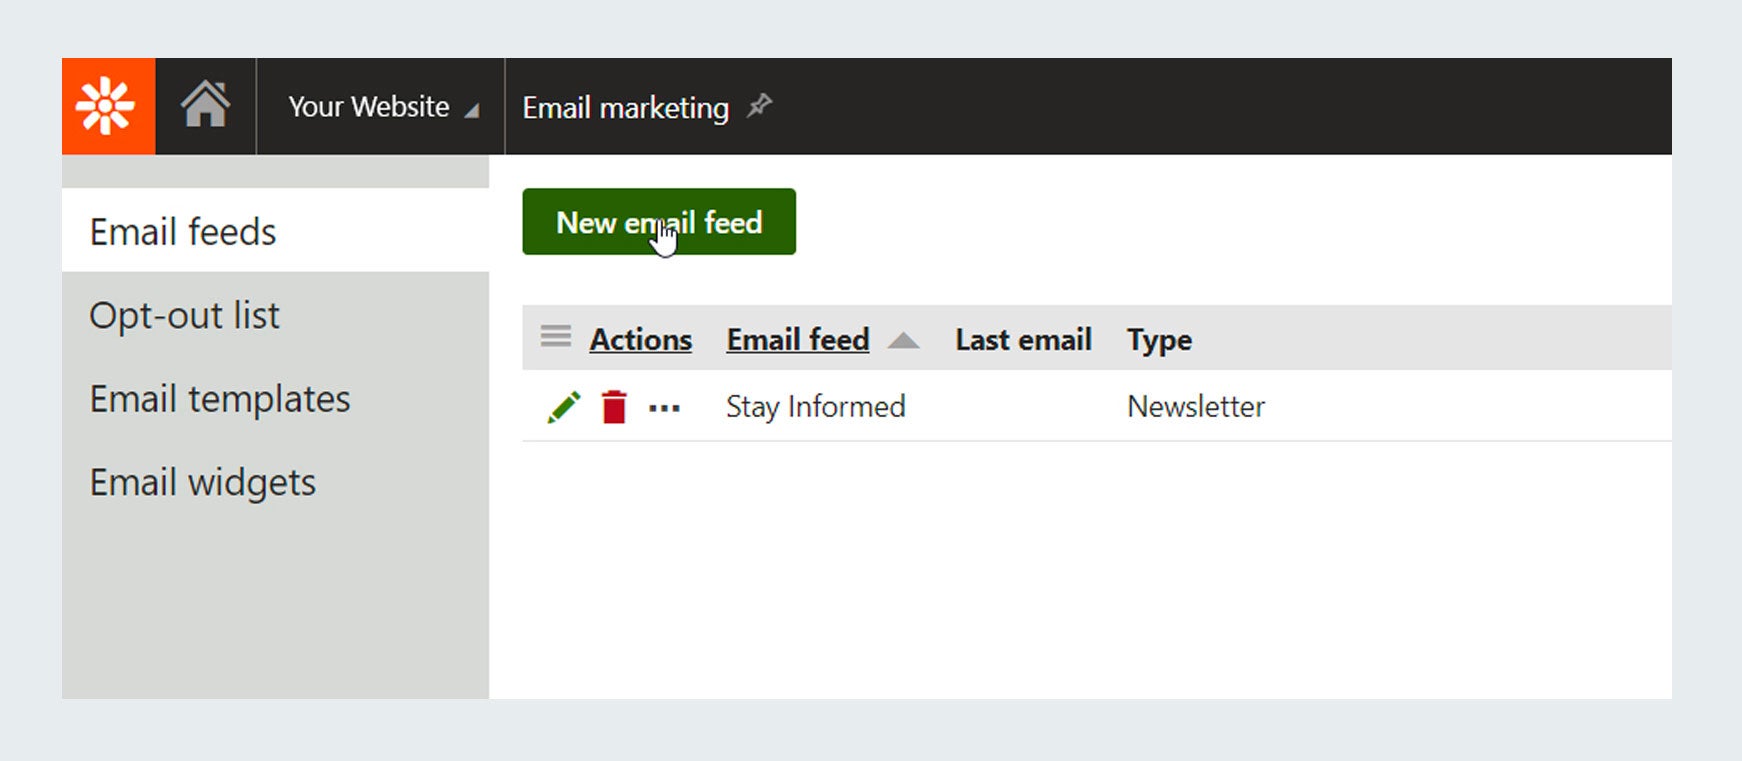
Once your template is created, now you will take the next step of using it to create a newsletter. In the same Email Marketing application within the CMS, go to the Email Feeds tab and click on the “New email feed” button.
From here you will select the newsletter option and fill in the properties for your newsletter. This includes setting the display and code name, the name and email address that you want to use as the sender, as well as the subscription and unsubscription email templates.
Once those basic properties are set, click “Add templates” to select your previously created email template and click save. Upon saving, the system creates the newsletter and opens up the configuration tab so that you can continue the setup process. The advanced settings covered here include:
- URL settings, including unsubscription page URL
- Online marketing tracking
- Double opt-in
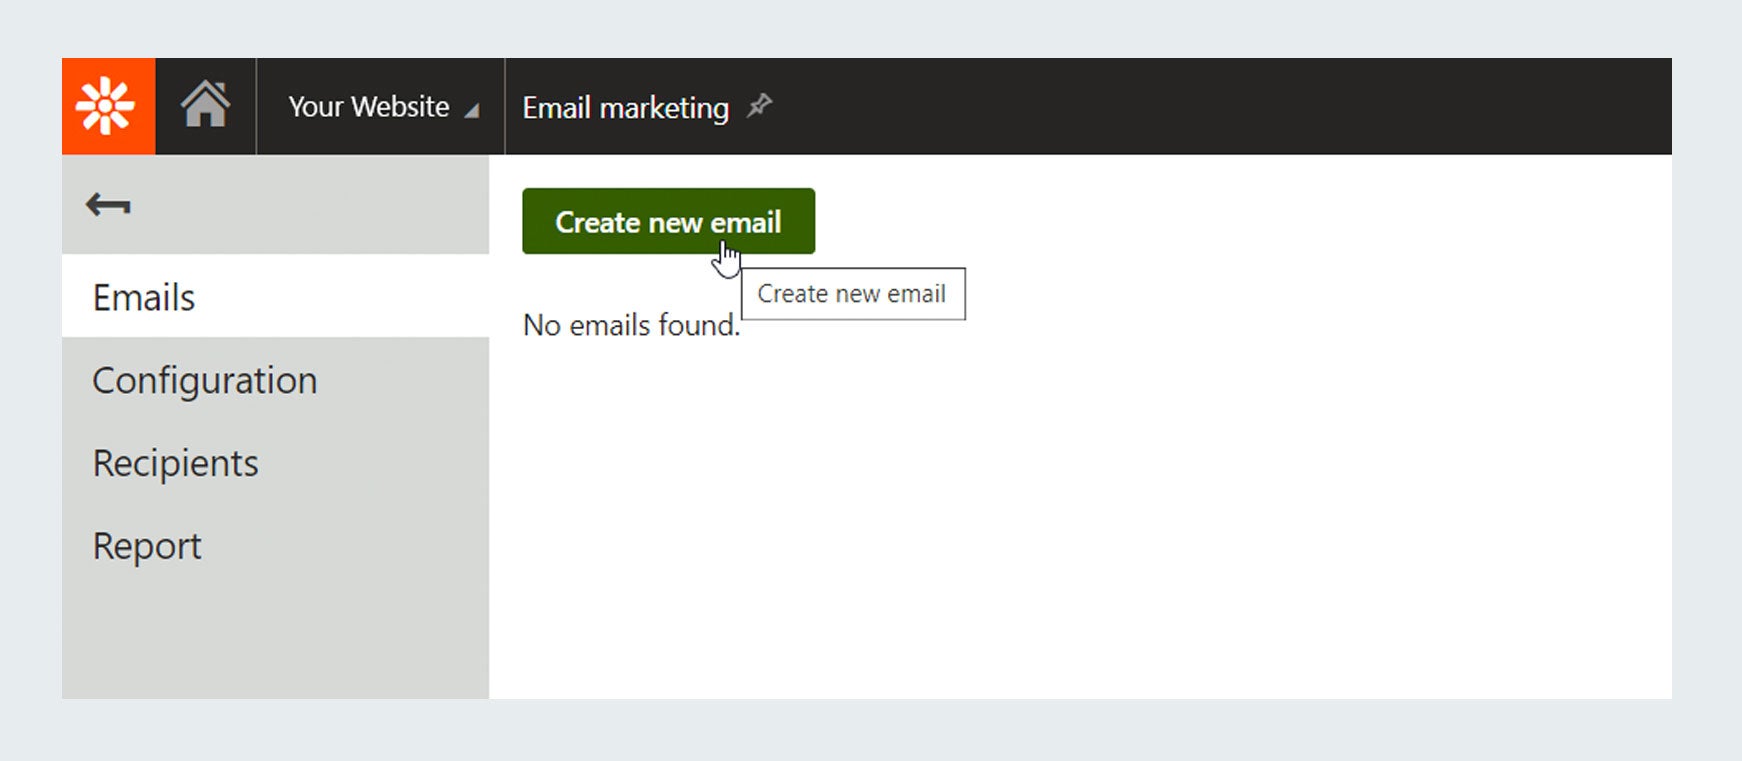
After saving these settings, you can start adding your content by clicking the pencil icon next to your new email feed and then click on create new email.
Now you will be able to use the email builder view to add your specific content to your new newsletter email template. As you are adding your content, you can preview how your email will look at any point in the process. It gives you a mobile and desktop view:
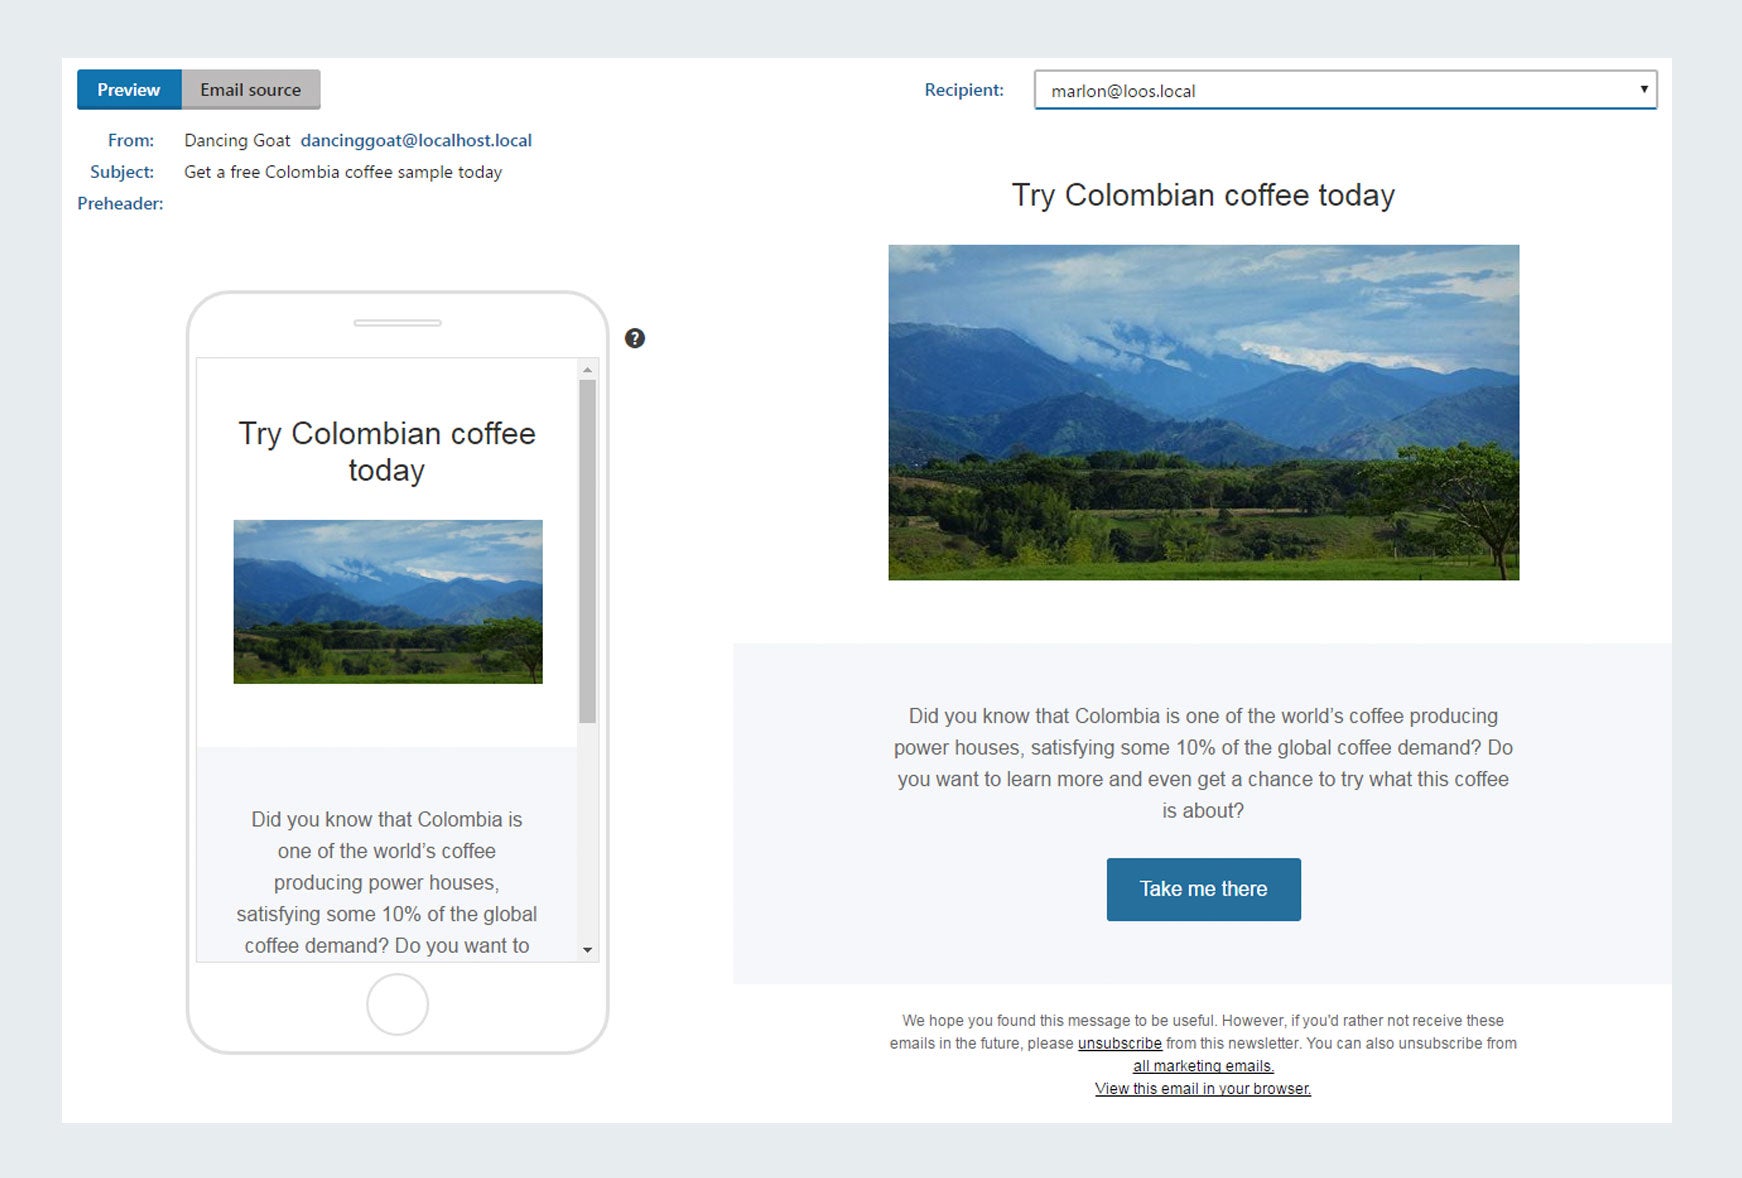
Within the email builder interface, you also have the ability to send a test draft of the email to any email address.
Some other cool features that you may want to take advantage of at this stage are:
- Specifying UTM parameters used in the campaign links so that you can better attribute future traffic or conversions to your marketing efforts
- Creating a/b testing variants of your email to try out if a particular change to your newsletter is more effective.
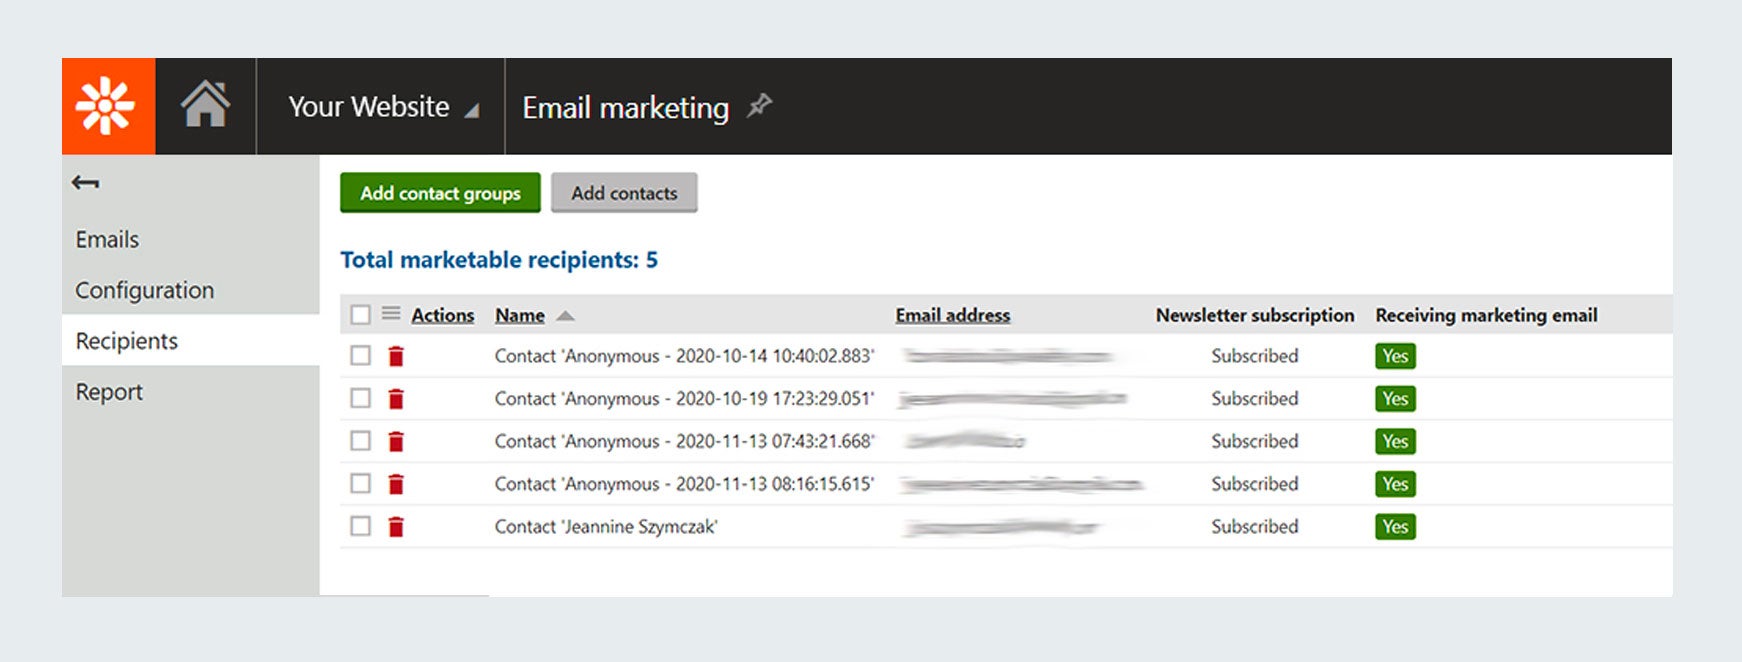
Once you have finished adding your content, the last step is to send out your newsletter! Once again, you will click the pencil icon next to your email feed and now you will go to the “recipients” tab. Anyone who has subscribed should already be showing up in the list as “subscribed” but you can also click to add contacts or contact groups to add others to the recipients list.
Once the recipients list looks good, go back to the emails tab above and click the edit icon. Now go down to the send tab and you can either click send now or use the Date and time feature to schedule your newsletter to go out in the future. Kentico Xperience also includes a Reports section so you will be able to check out opens and clicks to see how successful your newsletter was.
While the initial setup takes a bit of efforts, once you get the initial feed and templates built, sending out additional newsletters is much simpler. Going forward you will simply have to create a new email and add your updated content to the existing template, check your recipient list and send. It’s a great way to stay connected to your clients and prospects, keep them up to date on your latest offerings, and provide them with useful information.
Need help creating an effective newsletter in the Kentico Xperience CMS?
Contact Wakefly for a Free Consultation
Related Articles

How Do I Optimize My Website for AI?
Why do you need to optimize your website for AI?AI-powered search engines like Google’s AI Overview, Perplexity, and tools such as Microsoft's [...]

Outdated or Outstanding? How to Tell If Your Website Needs a Refresh
Your website is the digital face of your business. It serves as a first impression, a marketing tool, and a resource for potential customers. [...]

Preparing a Website Redesign Budget for 2025: A Step-by-Step Guide
As we approach 2025, businesses are recognizing the necessity of a fresh, user-friendly website to stay competitive in a rapidly evolving digital [...]